Yearbook Contest
Each year, the WVE yearbook cover is created by our very own 5th grade students. Students started brainstorming ideas in the art room, but then it is up to them to complete their designs and return them to school by the deadline. Students are encouraged to think of new and creative ideas.
Here are our entries:
Ceramic Bowls
Students carved a vinyl block (they will use this for printing as well) using line and shape to create a design. They pressed the block into the center of the clay, then added details to the side with additional student made stamps. To create the bowl form, student cut slits into the sides, overlapped the pieces and slipped and scored them upwards.
Printmaking
Students used the vinyl print blocks that they designed and carved themselves to make prints. They experimented with mixing colors and creating doubled prints.
Mardi Gras Masks
Students viewed some masks in different cultures, including Mardi Gras masks, to kick off this project. They drew their mask designs on paper first using 3 steps: creating the contour (outline), dividing the mask into sections, and adding facial features. Each design is an original composition of the students imagination. The learning goals here were: contour line and symmetry and asymmetry. Once the students had two designs they loved, we narrowed it down together to one that would be transferred to metal. Students will transfer to the metal using a process called repousse (or if you don't speak french: tooling or embossing). Students had to trace all the pencil lines to press the design into metal. Then they went over the lines again directly on the metal. Last they added patterns into the sections of the metal. Once completed, they add color with sharpie markers. Finally, the masks are cut out of the metal. It is a long process, but with a great results.
These kids are so dedicated, we had dozens coming in at recess to work!
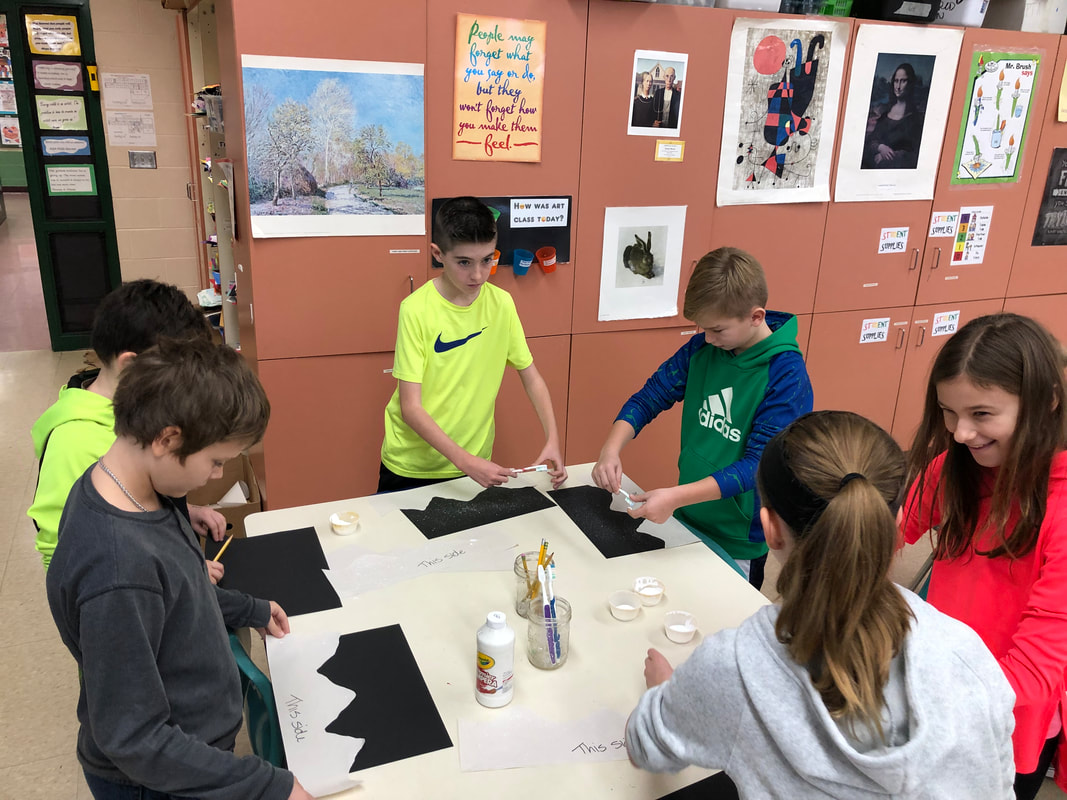
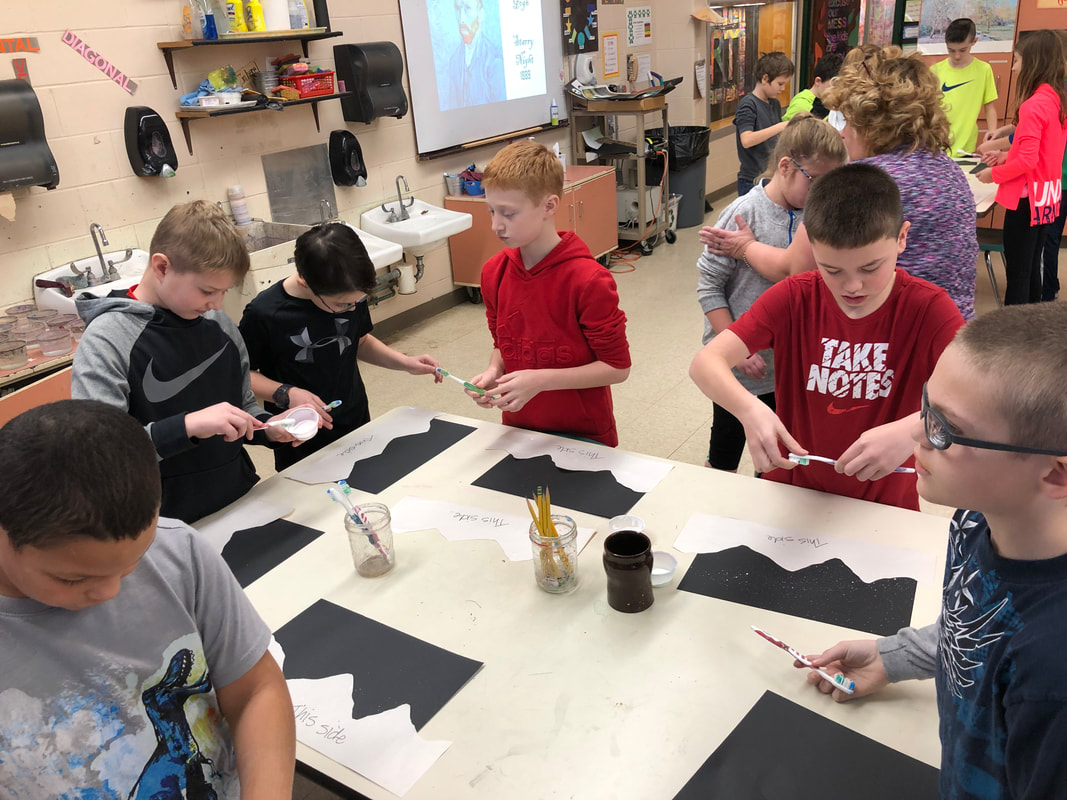
Starry Night inspired chalk drawing
Students learned about the life of artist Vincent van Gogh. Inspired by van Gogh, they are making chalk drawing that focus on the following art concepts:
*foreground, middleground, background
*analogous color schemes
*contrast, harmony
* line to create movement
*chalk blending and drawing
|
|
Graffiti Name Project
Students are starting the year creating their own name in a graffiti style. We started using "graffiti creator" website to see how they could adapt and change the letters of their name. I posted a link below so students can try this from home!
LINK: Graffiti website
I posted a link here to a powerpoint of professional artist examples and past student examples that I have put together for the students to see.
graffiti_powerpoint.pdf
Information about Graffiti artists: graffiti_project.docx
STUDENTS!
How to Save your graffiti name (and save it as your background too)
Once you have a graffiti name you like, follow these steps below:
To save an image on your screen-
1. Click the Search button on the bottom of your screen (looks like a magnifying glass)
2. start typing snipping tool in and the snipping tool option will pop up. Click on it.
3. Choose New in the pop up window
4. Move the + cursor to the top corner of the desired image you want to save. Click AND hold your left mouse button while at the same dragging your cursor across the entire image . Let go when the image you want is shown in the box.
5. At the top of the pop up window you will have an option to save (or you can click file and choose Save As).
6. name your image whatever you like and hit save. It will automatically choose to save your image into your pictures folder.
To make your image your backdrop on your computer-
1. go to the search button at the bottom of your screen and type in This PC
2. click on This PC and choose the Pictures folder. You should see the image there.
3. Right click the image and choose 'set as desktop background'.
That's it!
